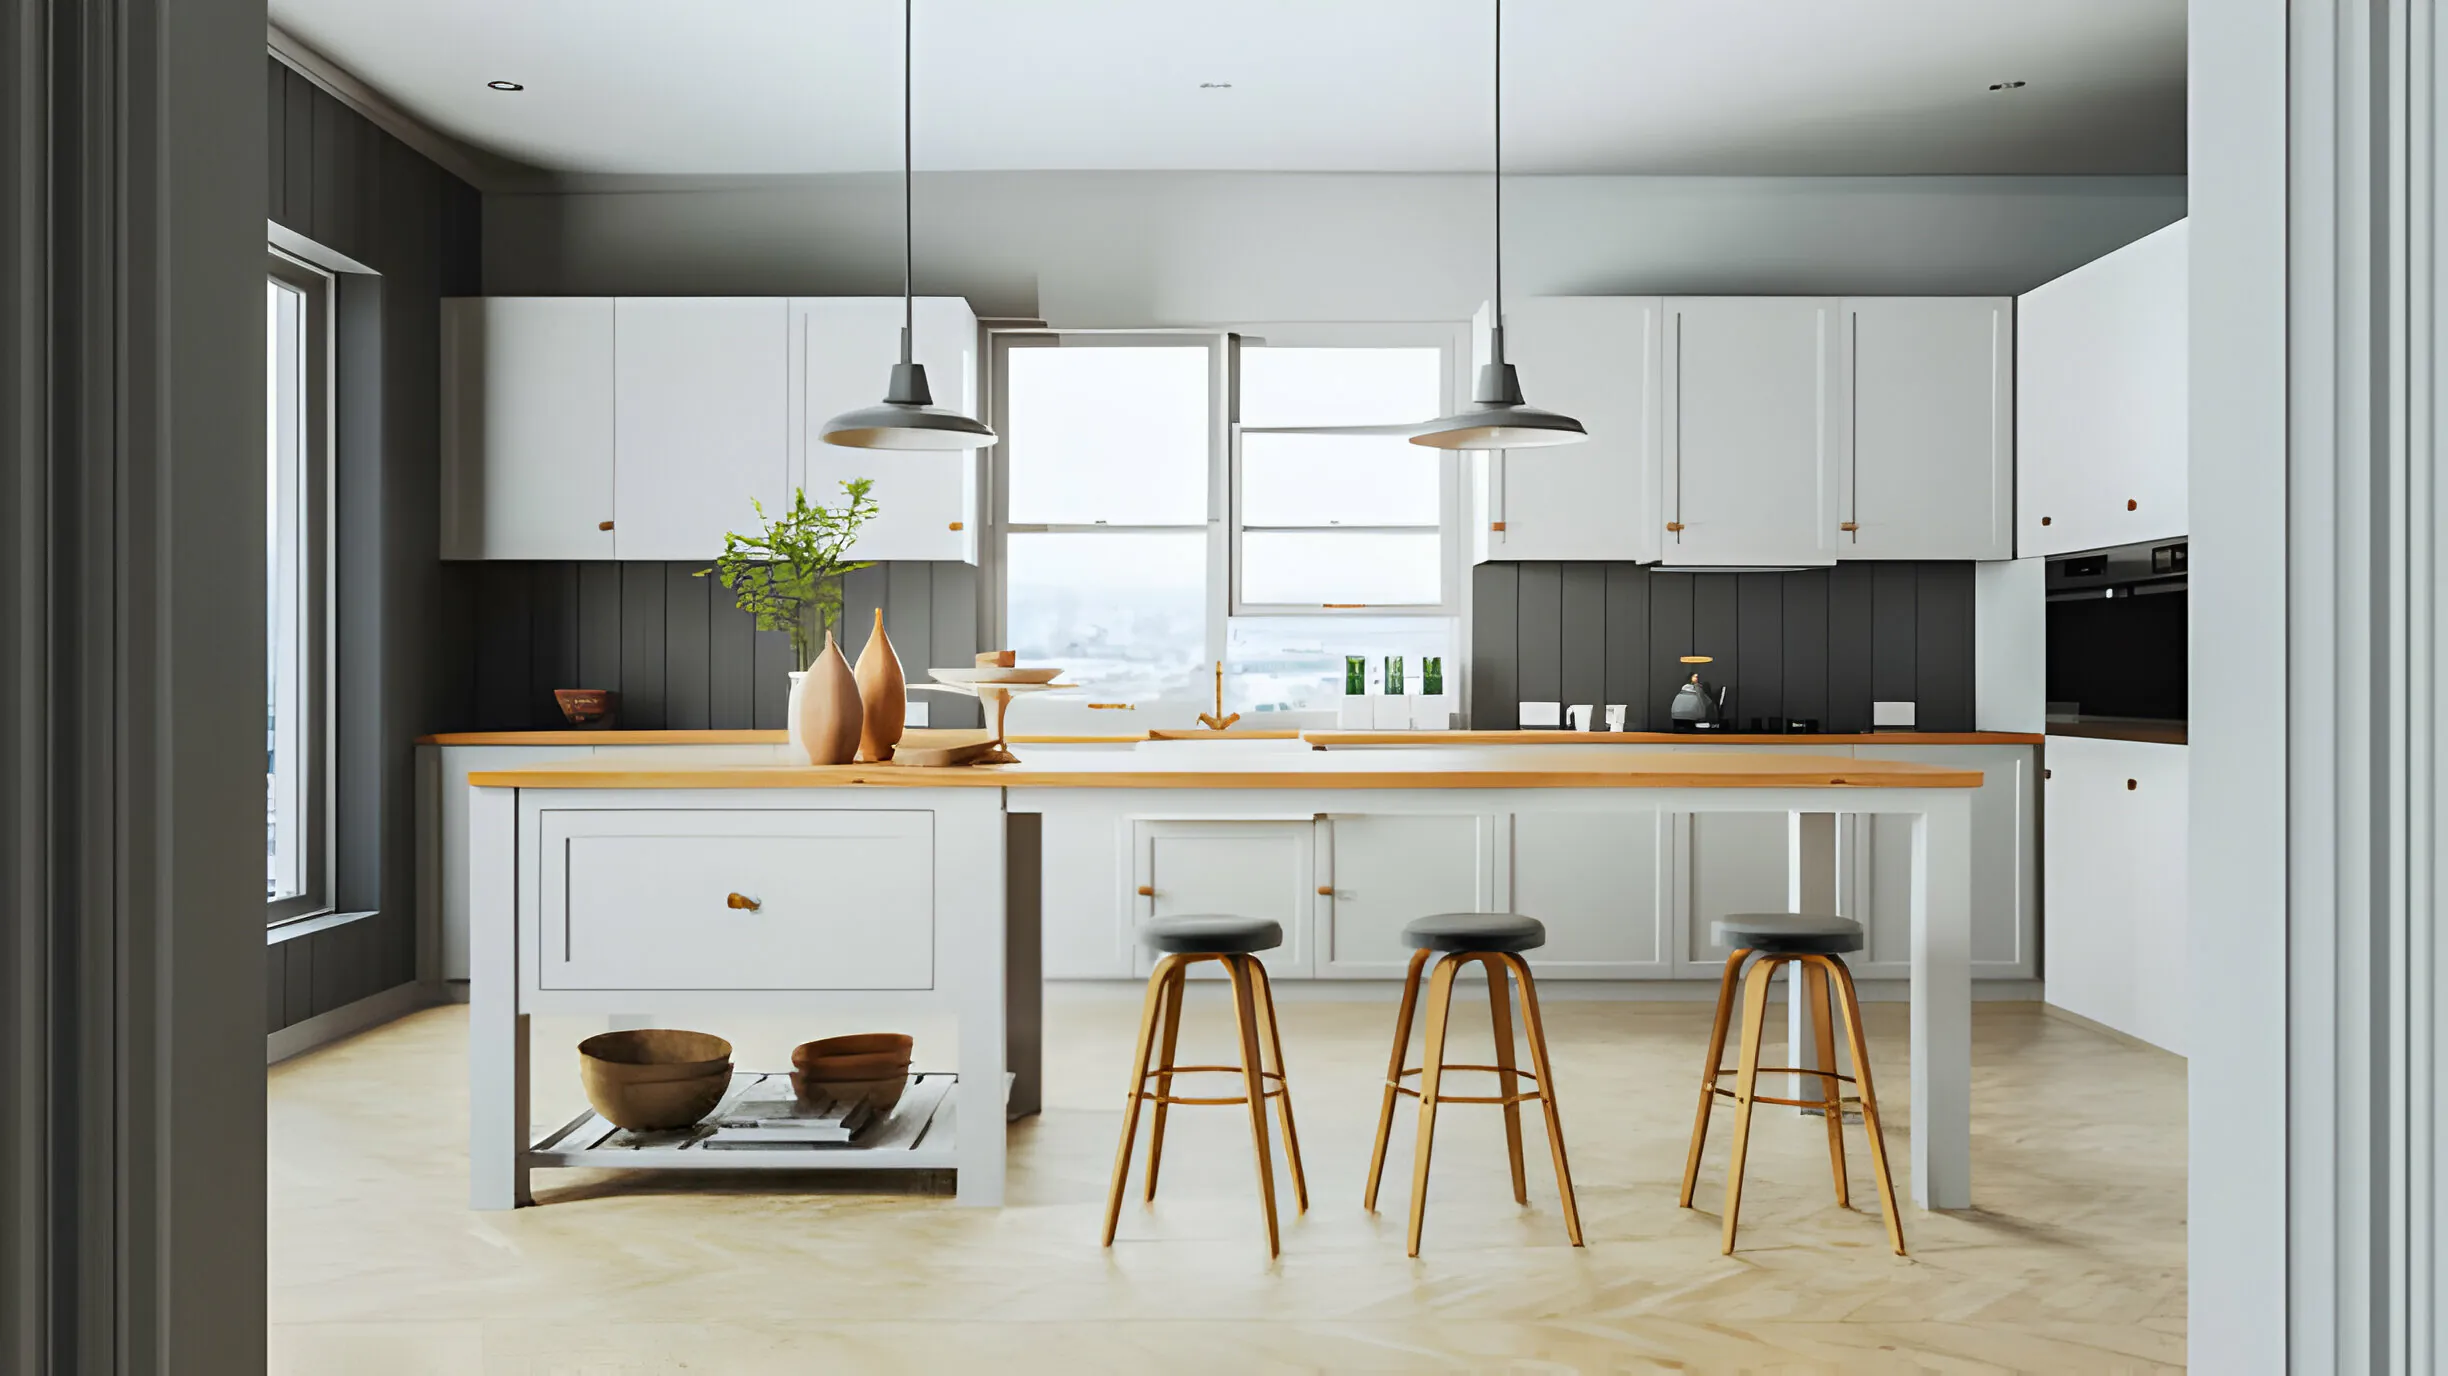
Painting above kitchen cabinets can be simple and effective. It can refresh your kitchen without breaking the bank. You may be aiming to add colour or just touch up the paint. This guide will walk you through the process to get a pro finish. From preparation to final touch-ups, we’ve got you covered.
Preparing the Area
Before diving into painting, it’s essential to prepare the area properly. Start by removing items from the top of your cabinets. Then, cover countertops and appliances with drop cloths or plastic sheets. This will protect them from paint spills. Ensure proper ventilation by opening windows or using a fan for air circulation.
Tools and Materials Needed
Before starting the painting project, make sure you have everything you need. Gather these tools and materials:
- Ladder or Step Stool: Reach those high spots comfortably.
- Drop Cloths or Plastic Sheeting: Protect surrounding areas from paint spills.
- Painter’s Tape: Achieve clean lines and prevent paint bleed.
- Sandpaper: Smooth out surfaces for flawless results.
- Tack Cloth or Damp Rag: Wipe away dust and debris for a pristine canvas.
- Primer: Lay the groundwork for a long-lasting finish.
- Paintbrushes (Angled Brush Recommended): Apply paint with precision.
- Roller with Extension Pole: Cover larger areas swiftly and efficiently.
Safety Measures
Safety should always come first when painting. Make sure to use a sturdy ladder or step stool placed on a flat surface to avoid accidents. Wear gloves and goggles. They protect you from paint splatters and fumes. Keep children and pets away from the area while working with paint chemicals.
Also Read: Enhance Your Kitchen: What Colour Wood Floor Goes With Dark Cabinets?
Managing Space Constraints
If you’re in tight spaces or under low ceilings, consider using a step ladder or stool. They will help you access hard-to-reach areas. An extension pole can also be handy for reaching high corners without climbing too high. Removing cabinet doors first gives more space and flexibility. It makes it easier to paint above them.
Cleaning the Surfaces
Cleanliness is key to achieving a smooth finish. Use a degreaser or all-purpose cleaner to remove any dirt from the surface. It is above your cabinets. Wipe down the area with a damp cloth and then apply your cleaning solution using another clean cloth. Rinse with water. Let it dry completely before priming or painting.
Also Read: Prevention and Repair Strategies for Enduring Cabinets
Priming the Cabinets
Priming helps the paint adhere better and provides a smooth surface for an even finish. Choose a primer for your cabinet’s material. It could be wood or laminate. Apply primer with a brush on difficult-to-reach areas and use a roller for larger surfaces. Let the first coat of primer dry completely. Then, apply another coat if needed.
Choosing the Right Paint
Selecting the right paint is crucial for a long-lasting and durable finish.
- Consider the Finish: Opt for a semi-gloss finish for durability and easy cleaning.
- Water-Based Paints: Easy cleanup with soap and water.
- Oil-Based Paints: Known for durability and resistance to wear and tear.
Also Read: The Definitive Guide to Painting Stunning Thermofoil Cabinets
Applying the Paint
When applying paint, use long, even strokes in one direction for a smooth finish. Start at the top of your cabinets and work your way down towards the bottom. Be careful not to overload your brush or roller with too much paint to avoid drips and uneven coverage. Allow ample drying time between coats before proceeding.
Final Touch-ups
Once the paint has dried, check the surfaces. Look for any spots or uneven areas. Use a small brush to fill gaps and imperfections. Sand lightly between coats for a smoother finish. Allow enough time for the paint to dry. Then, remove the tape and plastic from nearby areas.
Clean Up and Maintenance
After painting, remove the tape and clothes carefully. This will avoid damage and mess. Dispose of used paint cans, brushes, and rollers according to local regulations. Also dispose of other materials in the same way. Regular maintenance is key. It keeps your newly painted space looking fresh for years to come.
Conclusion
Painting above kitchen cabinets can be a rewarding DIY project. It adds depth and character to your space. By following these steps and taking care, you can achieve a pro finish. It will bring new life to your kitchen. So grab your paintbrushes and get ready to transform your space with a fresh coat of paint!
Ready to start your kitchen transformation?
Visit Building Supply Depo for a wide range of high-quality paints, brushes, and all your DIY project needs. Let’s build your dream space together!
Frequently Asked Questions (FAQs)
How can you shield kitchen cabinets when painting the ceiling?
To protect kitchen cabinets while painting, use drop cloths and painter’s tape.
How do you bridge gaps between cabinets and ceilings?
Attach trim atop upper cabinets. This will fill the gaps between them and the ceiling. It will make the cabinets integrate seamlessly and reduce dust buildup.
Is it common to embellish above kitchen cabinets?
Adorning above kitchen cabinets is a great way to show off cherished items. It also keeps essentials accessible. This is true in both spacious and compact areas.
Which paint type is most suitable for the space above kitchen cabinets?
Choose semi-gloss or satin paint. They are durable and have a smooth finish. Use them for the area above kitchen cabinets.
What measures should be taken to safeguard cabinet surfaces during painting?
Prevent accidental paint spills. Do this by shielding cabinet surfaces with plastic sheets or painter’s tape.
Also Read: How to Extend Kitchen Cabinets to Ceiling


