Hunting Down Top Flooring Suppliers in Delaware: A Real-World Guide
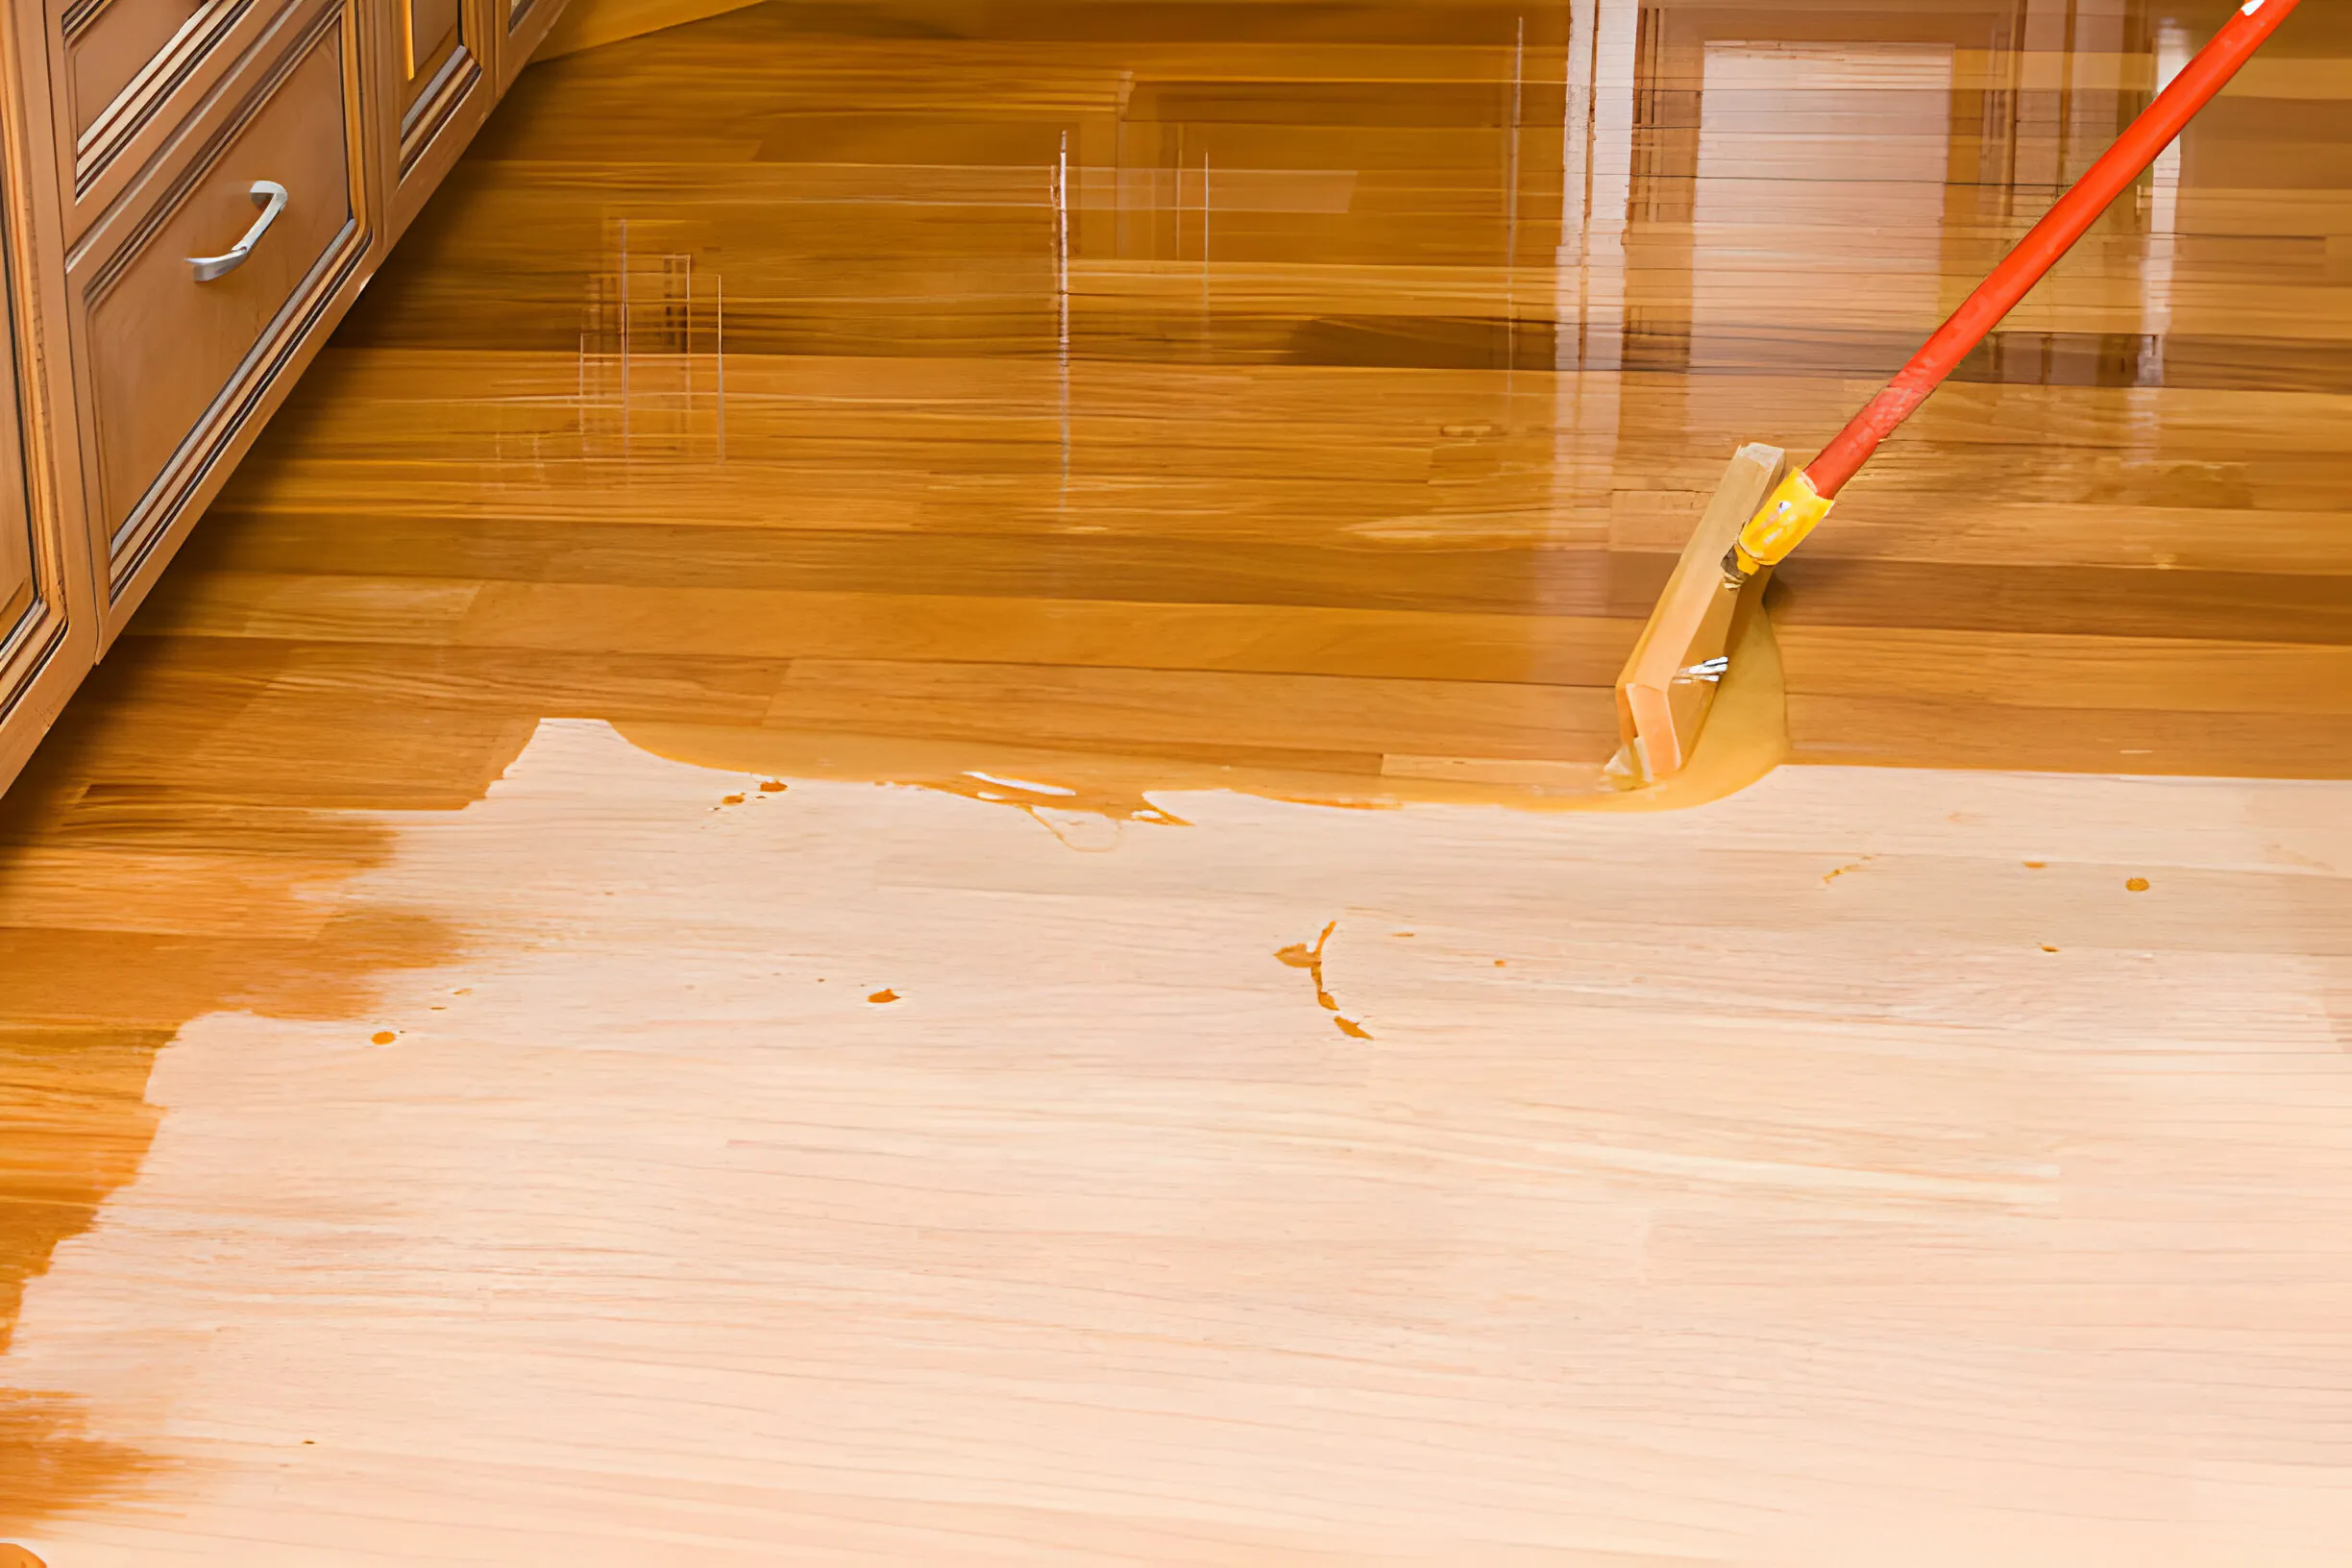
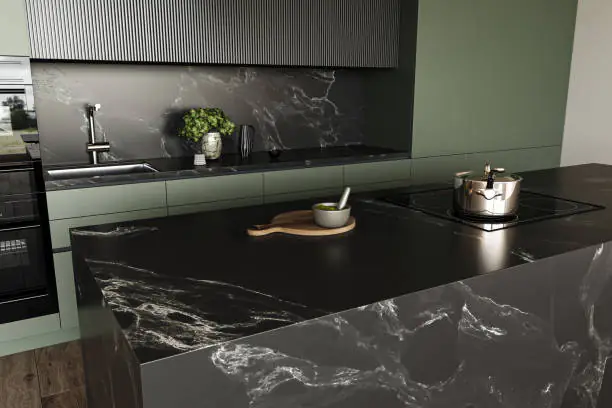
Many interior designers believe, once you have decided on flooring, it is easy to take the project ahead. Either revamping a home or office, literally and figuratively, get the flooring out of the way. How can one nail the flooring? Well, that’s easy. Find yourself the kind of flooring suppliers that present the best designs and options. Flooring suppliers are the backbone of any solid renovation, for stocking everything from weathered oak to tough-as-nails vinyl for all kinds of budgets. In Delaware, where salty coastal air or Wilmington’s urban hustle shapes what works, tracking down dependable flooring suppliers in Delaware is a must. This guide rounds up the state’s best flooring suppliers, what makes them tick, and down-to-earth tips for picking the right one. What Makes Delaware Flooring Suppliers Special? Delaware’s weather has humid summers and damp springs. These can wreak havoc on floors if you’re not careful. Flooring suppliers in Delaware get this, stocking stuff like waterproof vinyl or sealed hardwood that laughs off moisture. The good ones don’t just hand over materials; they’ll install them too, saving headaches. Building Supply Depo for example, is a name folks keep bringing up among flooring suppliers. They’ve got lumber, hardwood, laminate, you name it. Locals swear by their knack for suggesting the perfect fit, like tough laminate for a kid-filled living room or soft hues for a quiet study. Picking Materials That Last Choosing the right flooring means thinking about durability first. You have to be careful about the high-traffic spots, like a Rehoboth Beach rental with sandy feet tromping through. Flooring suppliers in Delaware stock products built to last. They often come with 10- to 30-year warranties for peace of mind. From hardwood that stands up to kids and pets to vinyl that shrugs off water, these suppliers help buyers find materials that won’t quit. Styling Floors for Delaware Homes Style’s a big piece of the puzzle, and flooring suppliers in Delaware deliver options to match any vibe.The selection of wide-plank oak screams colonial charm for historic homes in Dover. On the other hand, sleek vinyl fits a modern Wilmington loft. Whether it’s a cozy coastal cottage or a sleek urban pad, Building Supply Depo flooring suppliers are here to make your design dreams come true. Embracing Eco-Friendly Flooring Green living is becoming the most important part of living for Gen Z and Alphas. Building Supply Depo is all big and welcoming for this pleasant change of stance. They stock eco-conscious options, like vinyl with recycled content or wood from sustainable sources. This trend’s a hit in places like Lewes, where homeowners want to cut their environmental footprint. Flooring suppliers are making it easy to go green without sacrificing style. How to Spot the Right Flooring Supplier Choosing flooring suppliers boils down to three things: toughness, style, and price. Busy spots like a Rehoboth Beach rental with sandy flip-flops traipsing through need floors that can take a beating. Flooring suppliers in Delaware often back their stuff with 10- to 30-year warranties, so there’s no stress about wear. Style’s where it gets fun; wide-plank oak screams Delaware colonial, while slick vinyl fits a Dover loft. Price-wise, good flooring suppliers balance what you pay now with floors that don’t need constant fixing. Why Installation’s a Big Deal The best flooring suppliers don’t just sell—they install like pros. Think level subfloors, clean cuts, no wonky gaps. In Delaware, where county rules can trip you up, flooring suppliers who know the local code game keep things smooth, dodging pricey do-overs. Hearing from Delaware Homeowners Folks across Delaware have plenty to say about flooring suppliers. A Reddit thread from a Wilmington renter shared how a local supplier fixed a tricky job that a big-box store botched. It is the proof that flooring suppliers in Delaware bring that hometown edge. Reviews often highlight quick responses and top-notch work, making it clear why locals keep coming back. Maintaining Floors for the Long Haul Flooring suppliers share no-nonsense tips to keep floors looking fresh. Sweep with a gentle cleaner, toss mats by the doors, and mop up spills quick enough. Hardwood might need a refinish every few years to keep its shine, while vinyl’s happy with an occasional seal. These small steps, straight from flooring suppliers, stretch a floor’s life. Summing It Up: Build Smart Delaware’s flooring suppliers have options for days. You can have the most challenging task at hand, the worst color shades as request, the Building Supply Depo has it for you! Pop into a showroom, touch the samples, chat with the pros. It’s the way to land floors that feel like home.