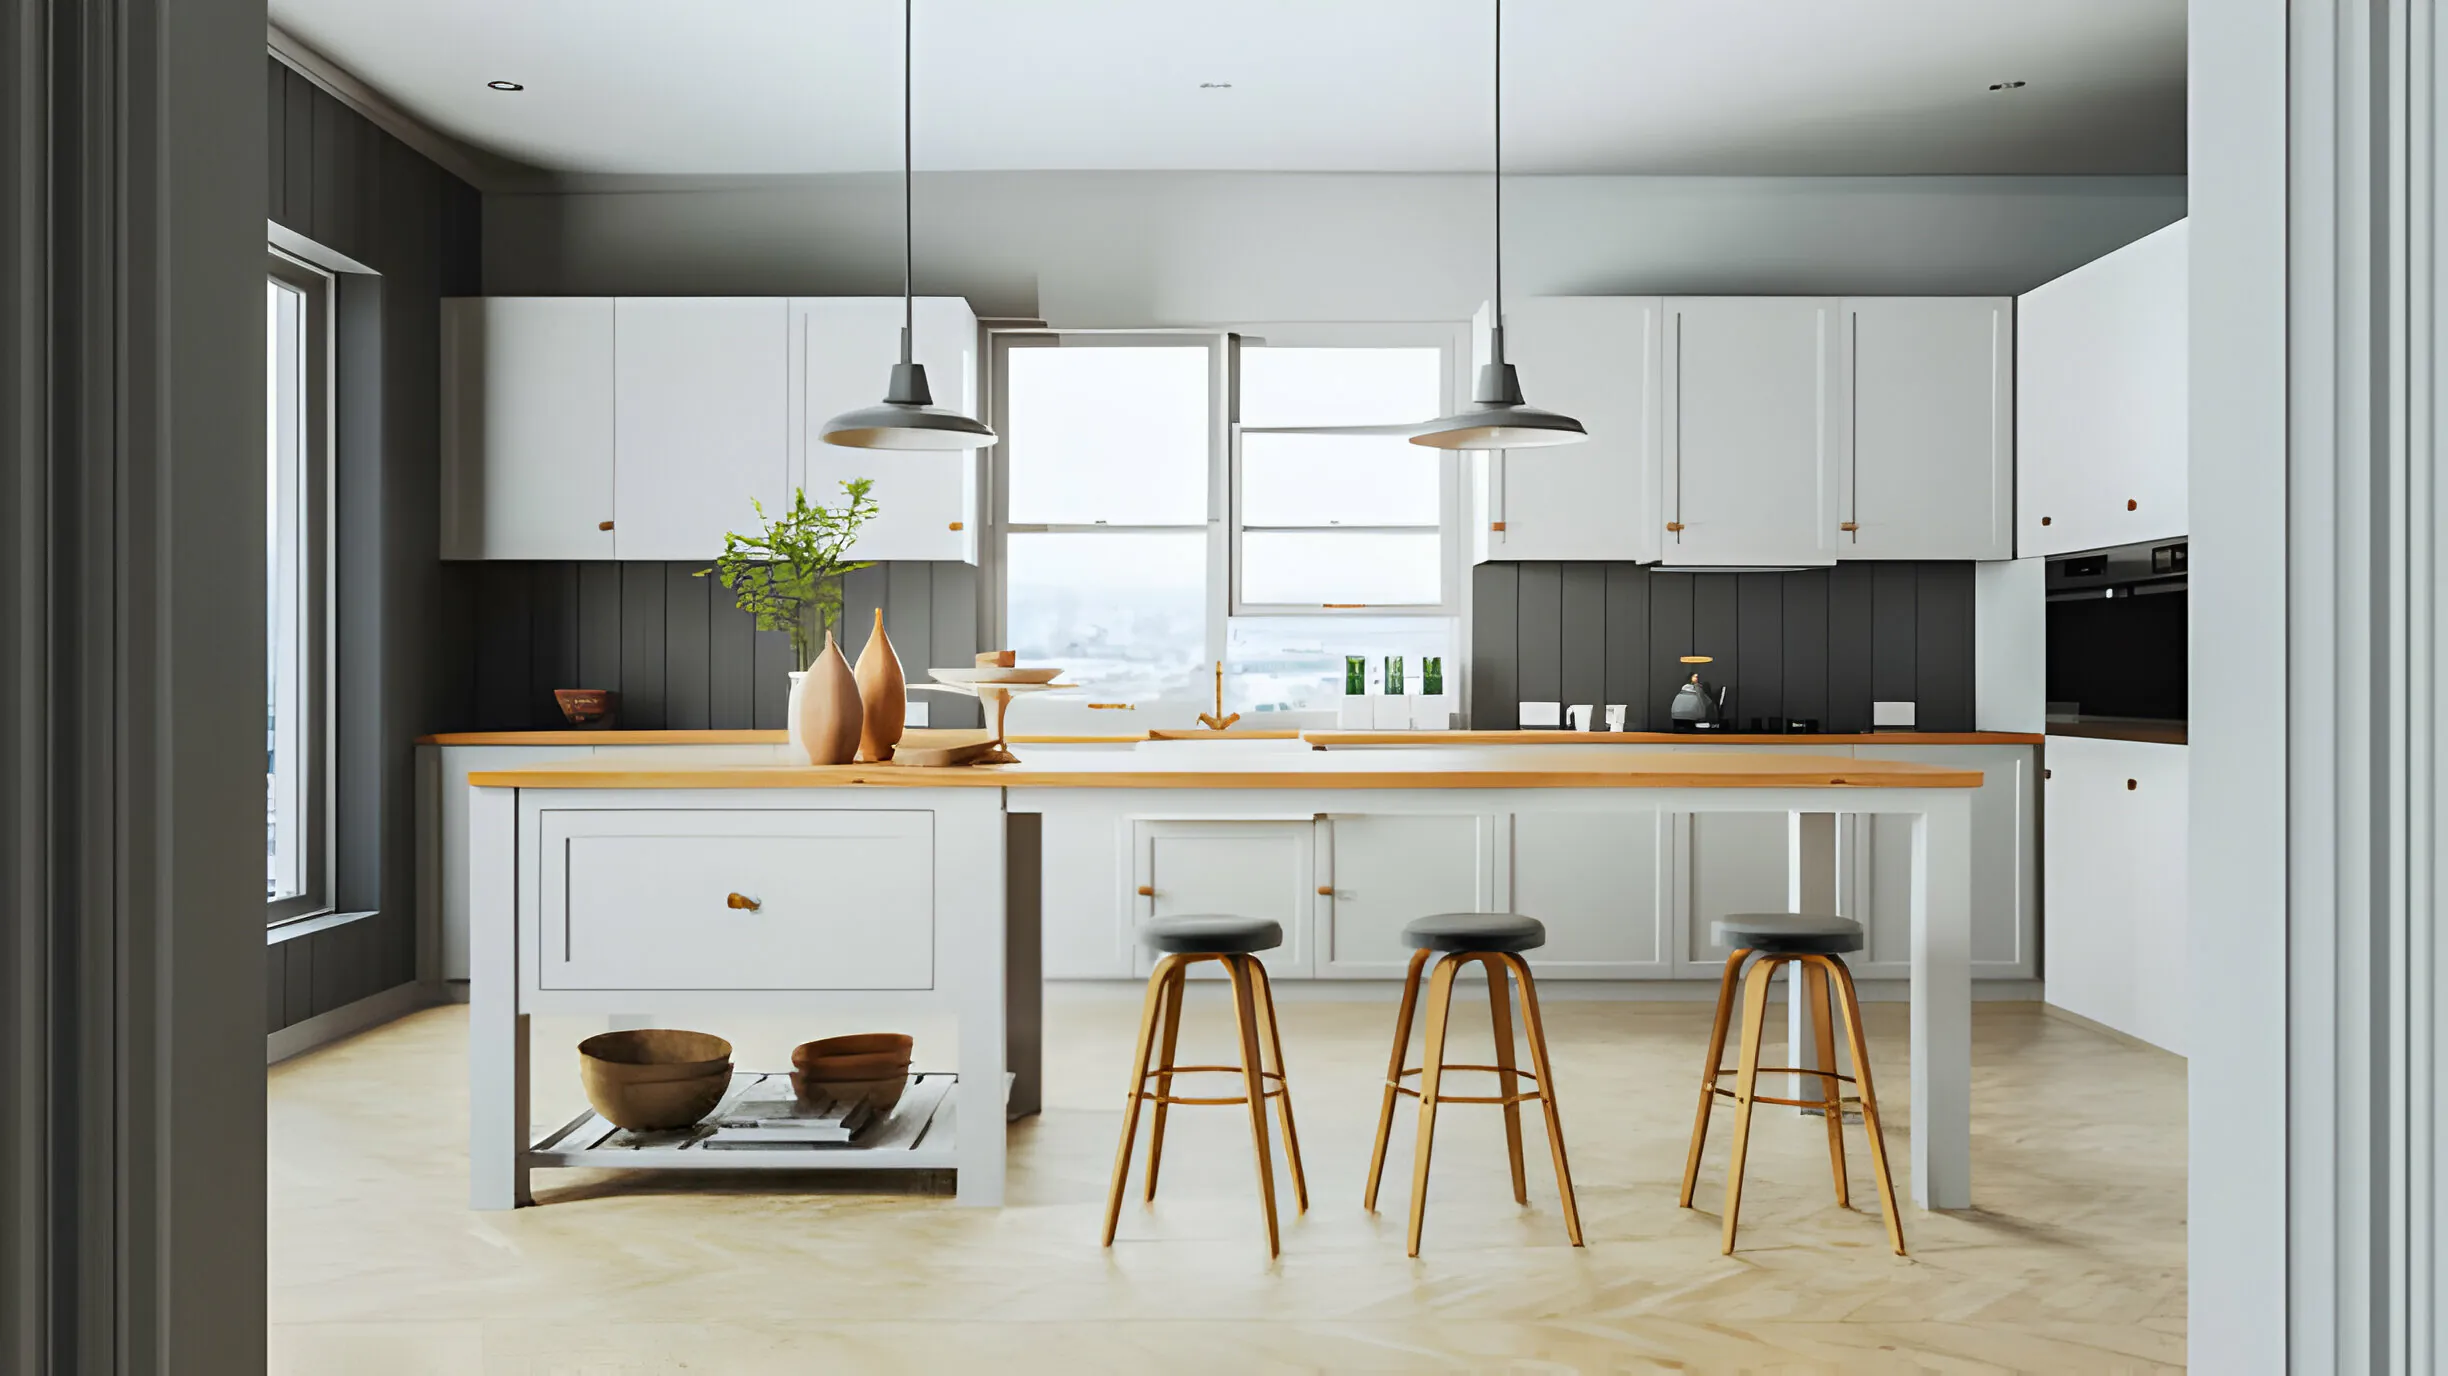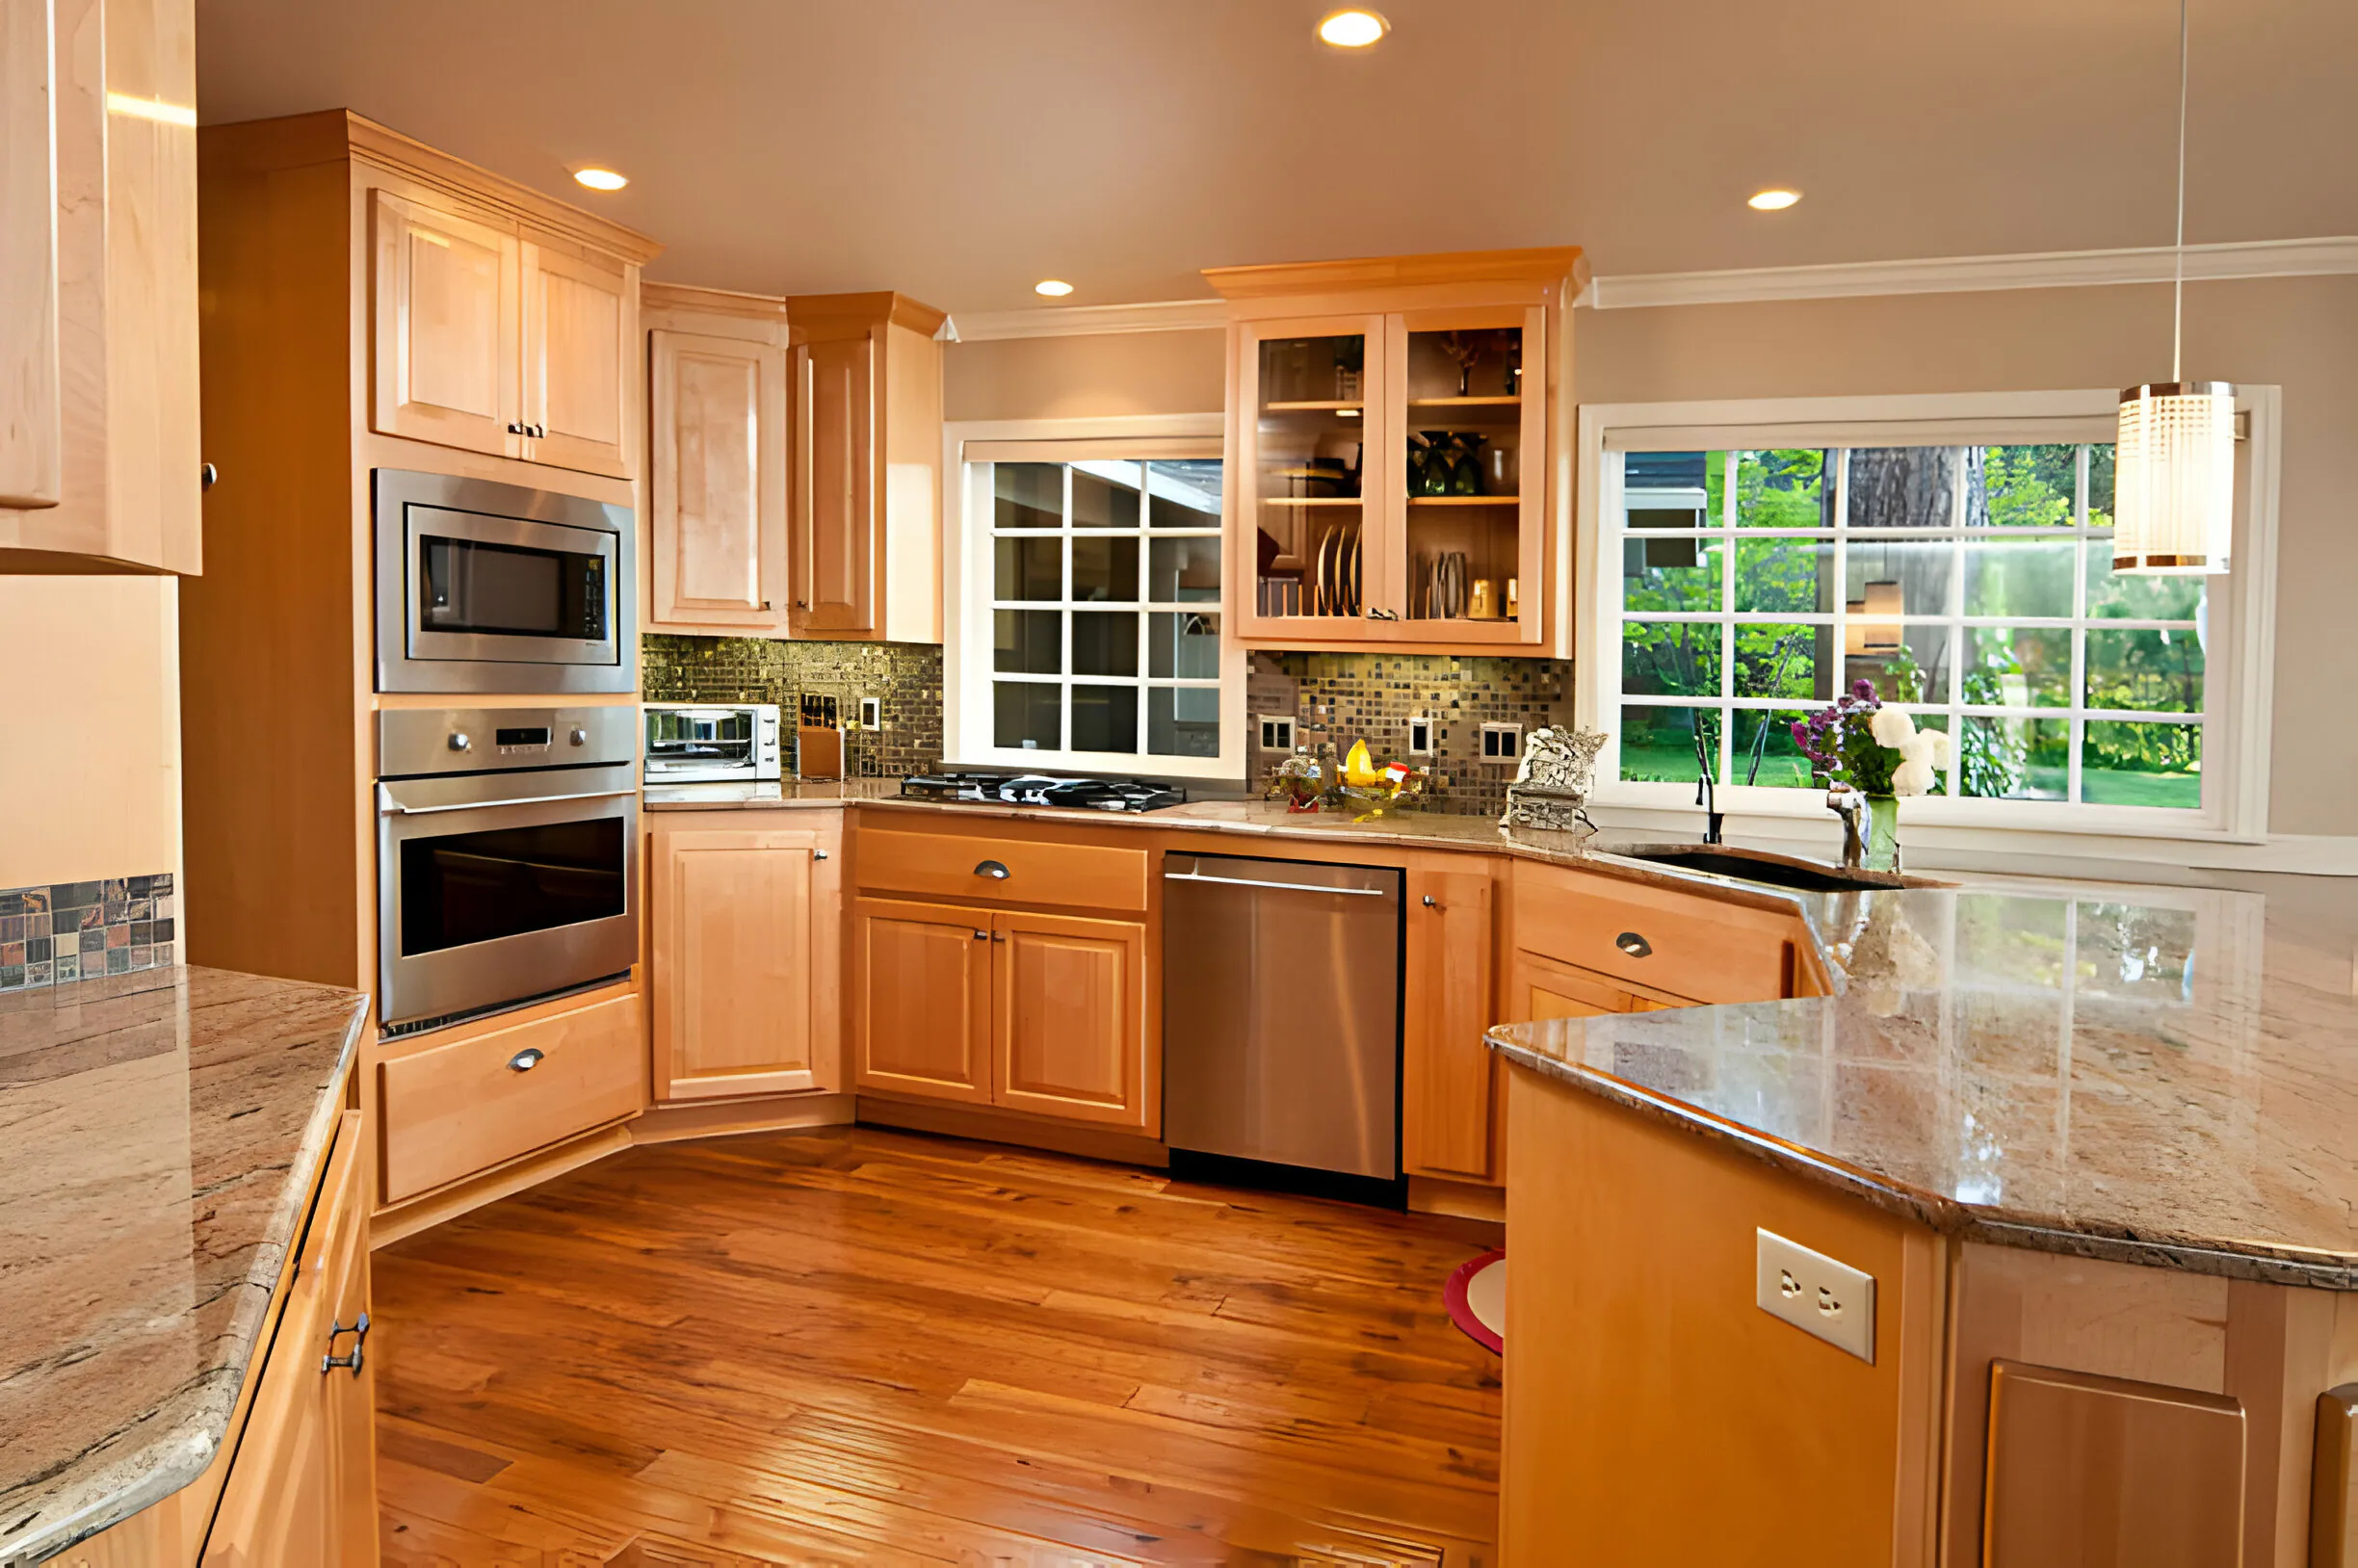
Ever peeped into your kitchen and thought, Blimey, what a waste of space up top!? You’re not alone! Many homes have cabinets that don’t quite reach the ceiling, leaving a gap that collects dust and looks a bit naff. Fear not! Extending your kitchen cabinets to the ceiling is not as daunting as it might seem. In this guide, we’ll walk you through the process, step by step, to achieve a sleek, custom look without breaking the bank.
Why Bother Extending Cabinets?
First off, extending your cabinets to the ceiling maximises storage space – a godsend for those of us with kitchen gadgets galore. It also adds a touch of elegance to your kitchen, creating a seamless look that’s right posh. Plus, it deters dust and grease from gathering atop your cabinets. Win-win!
Getting Started
Before we dive in, you’ll need a few bits and bobs: a tape measure, saw, plywood or MDF, wood glue, nails or screws, paint, and, optionally, doors for your new cabinet space. Donning safety gear is a must – we’re talking goggles and gloves, folks.
Measure Twice, Cut Once
Kick things off by measuring the gap between the top of your cabinets and the ceiling. Be thorough! If your cabinets have a bit of a curve or end before reaching a wall, take note of these quirks as they’ll affect the size of the panels or cubbies you’re adding.
Covering the Gap
Plywood Panel Method
One straightforward approach is to fit a piece of plywood into the space. You’ll want to cut your plywood to size, then install blocks along the ceiling and top of the cabinets. These blocks will serve as anchors for your plywood. Once in place, secure the panel with nails or screws. For a polished look, finish it off with some moulding along the top and where the panel meets the cabinets.
Adding Cubbies
If you fancy keeping the storage space accessible, consider building cubbies. Cut plywood to form the top and bottom of each cubby, then create dividers based on how large you want each section to be. Glue these bits together, and once dry, hoist your new cubby atop your existing cabinets. Secure it in place, and don’t forget to add moulding for that built-in look.
Optional: Installing Doors
For those who want to keep things tidy or hidden away, adding doors to your cubbies is a brilliant idea. Measure each cubby opening, add a smidge for overlap, and cut plywood or buy pre-made doors to fit. Attach hinges and knobs, then mount them to your cubbies. A lick of paint and you’ve got yourself some swanky new cabinet space that reaches all the way to the ceiling.
Finishing Touches
Whether you’ve gone for the simple panel or the cubby route, painting your new additions to match your existing cabinets is crucial. It ties the whole look together, making your extension appear seamless and intentional. If you’re feeling adventurous, contrasting colours can add a splash of character, just make sure they complement each other well.
Materials You’ll Need
- Plywood or MDF panels
- Crown moulding
- Screws and nails
- Wood glue
- Primer and paint
- Basic tools (saw, drill, screwdriver, etc.)
A Few Tips from the Trenches
- Take Your Time: Rushing might lead to mistakes. Measure carefully, and don’t skimp on the prep work.
- Be Flexible: Adapt your plan if you encounter any unexpected quirks with your existing cabinets or walls.
- Safety First: Always use proper safety gear when cutting wood or using nails and screws.Lighting: Consider adding LED strip lights underneath your new cabinets for a modern touch and improved visibility.
- Decorative Doors: If you’ve opted for cubbies, adding decorative doors can enhance the look and keep dust away from your items.
- Professional Help: Don’t be afraid to consult with a professional if you’re unsure about any step of the process. It’s better to seek help than to make costly mistakes.
Conclusion
Extending your kitchen cabinets to the ceiling is a doddle with a bit of planning and elbow grease. Not only does it elevate the look of your kitchen, but it also provides extra storage space and keeps your kitchen cleaner. Whether you choose to add a simple panel or build new cubbies, the result is a more polished and functional kitchen space. So, roll up your sleeves and give it a go – your kitchen will thank you for it!
FAQs
Q: Can I do this project on my own?
A: Absolutely! With basic tools and a careful approach, it’s a manageable DIY project. However, having a mate to help with the heavy lifting and installation can make the process smoother.
Q: How long does this project take?
A: Depending on the size of your kitchen and the complexity of the extension, it can take a weekend or a couple of weekends to complete.
Q: Will extending my cabinets to the ceiling add value to my home?
A: Yes, it can. By improving the functionality and appearance of your kitchen, you’re likely to see a positive impact on your home’s overall value.
Q:Can I extend my cabinets if I have a soffit?
A:Yes, but you’ll need to remove the soffit first. This might require additional work if it houses electrical wiring or plumbing.
Q:Do I need professional tools?
A:Basic tools will suffice for most of the work, but having a power drill and saw can make the job easier.
Q:Is this project suitable for beginners?
A:Absolutely! With careful planning and patience, anyone can extend their kitchen cabinets.